How to Make Honeycomb Candy: A Sweet, Crunchy Treat Perfect for Gifting

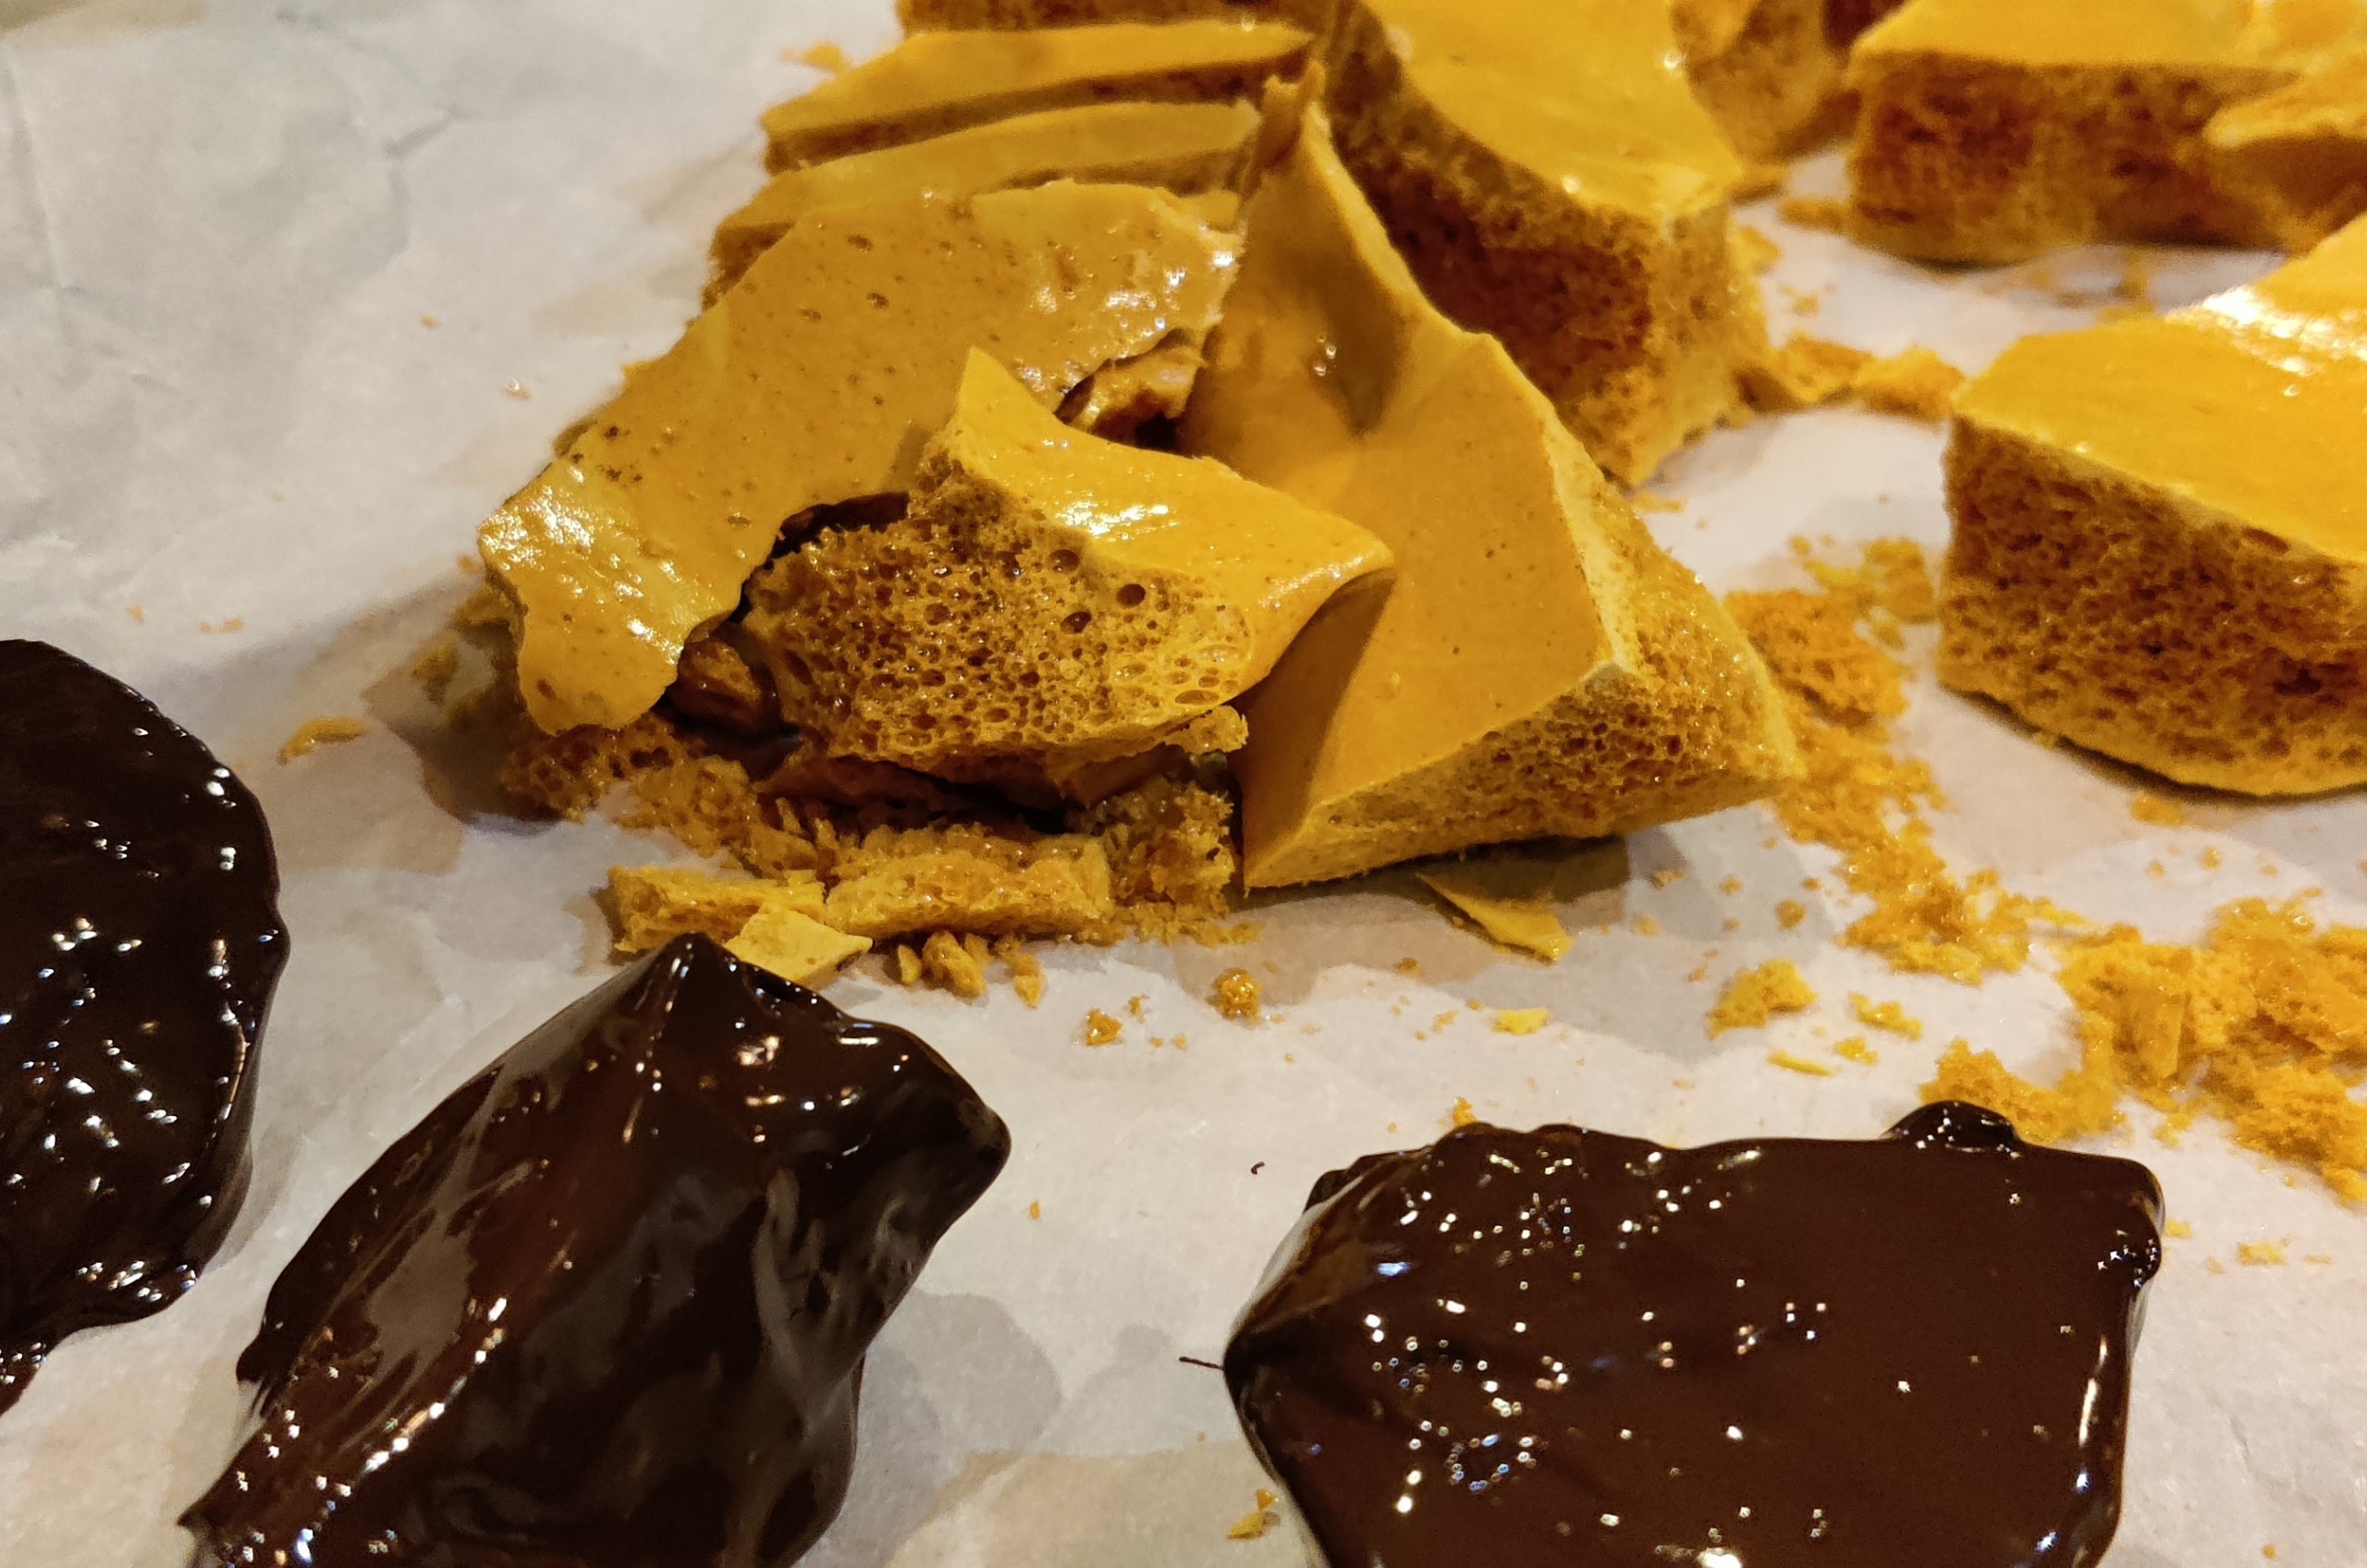
Honeycomb candy is one of those delightful confections that feels like magic when it comes together. Known by many names—sea foam candy, hokey pokey, or the crunch in Violet Crumble candy bars—this airy, crisp treat is as fun to make as it is to eat.
With its delicate texture and caramelized flavor, honeycomb candy stands out on its own. But dip it in a thin layer of dark chocolate? Now, you’re taking it to the next level. Not only does the chocolate add a luscious richness, but it also helps protect the honeycomb’s signature crunch from moisture, keeping it fresh for longer. (Let’s call it a necessity, shall we?)
Why You’ll Love Making Honeycomb Candy
- Light and Crunchy Texture: The baking soda reaction creates the candy’s airy, brittle structure.
- Perfect for Gifting: Pack it up in a cute tin or jar, and you have a thoughtful homemade gift.
- A Fun Science Experiment: Watching the sugar mixture bubble up when you add baking soda is always exciting!
- Simple Ingredients, Big Impact: You only need a handful of pantry staples to make this candy.
The Key to Perfect Honeycomb Candy
Making honeycomb candy requires patience, precision, and a trusty candy thermometer. The sugar mixture needs to reach the right temperature to create that iconic airy texture. Stirring continuously is essential to avoid burning, and you’ll want to work quickly when adding the baking soda, as the reaction happens fast. You also need to be gentle so you don’t lose all of the air pockets and end up with a hard candy that doesn’t have the crisp crunch.
Once cooled, store the honeycomb in an airtight container to keep it crunchy. And if you dip it in chocolate? Not only does it taste even better, but the chocolate creates a barrier that extends its crispness—win-win!
This post does contain affiliate links, please see our privacy policy for details. If you purchase something through these links we may earn a small (very small) commission at no cost to you but we do really appreciate your support.

Equipment
Ingredients
- 1 cup sugar
- 1/2 cup water
- 1/4 cup corn syrup
- 2 tbsp honey
- 1 tsp vanilla
- 1/4 tsp salt
- 2 tsp baking soda
- 2 lb dark chocolate (optional, but recommended for dipping)
Instructions
Prepare your workspace
- Line 8×8 glass baking pan with parchment paper and set aside along with the vanilla, salt, baking soda and your spatula.
Cook the sugar mixture
- In a heavy large pot combine the sugar, water, corn syrup and honey. Stir over medium heat until the sugar dissolves. Once dissolved, stop stirring and let the mixture come to a boil.
Monitor the temperature
- Clip a candy thermometer to the side of the pan, ensuring the tip is submerged but not touching the bottom. Cook until the mixture reaches 300°F (150°C), the hard crack stage.
Add baking soda
- Remove the pan from heat and immediately (and quickly) whisk in the vanilla, salt and baking soda until combined. The mixture will foam up dramatically—this is what creates the airy texture! Quickly pour the foamy mixture onto your prepared baking sheet. Avoid spreading it out, as this can deflate the bubbles.
Cool completely
- Let the honeycomb cool and harden for about 1 hour. Once set, break or cut it into chunks.
Optional: Dip in chocolate
- Temper your dark chocolate (or melt it gently) and dip each piece of honeycomb, letting the excess drip off. Place on a parchment-lined sheet to set.
- To temper dark chocolate, melt 1.5 pounds of the chopped chocolate in a microwave at 30 second increments stirring until melted and the chocolate reaches 110-120℉. Add the remaining 1/2 pound of chocolate and stir until melted and the chocolate reaches 89-91℉. Keep the chocolate at this temperature while dipping, reheating just a little in the microwave if needed.
Store
- Store in an airtight container at room temperature for up to 1 week (if it lasts that long!) or 2 weeks if dipped in chocolate.
Video
Tips for the Best Honeycomb Candy
- Be Ready to Move Fast: Once the baking soda is added, the reaction is immediate. Have everything prepped in advance.
- Use a Candy Thermometer: Precision matters in candy-making, and the thermometer is your best friend here.
- Avoid Humidity: Moisture is honeycomb candy’s enemy. Keep it in a dry, airtight container.
- Don’t Skip the Chocolate: Besides being delicious, chocolate acts as a barrier to protect the honeycomb from humidity.
Flavor Variations
- Cardamom Vanilla Honeycomb: Add freshly ground cardamom and pure vanilla bean extract just before pouring the candy mixture to avoid burning the flavors.
- Orange Blossom Honeycomb: Replace vanilla with orange blossom water for a light floral flavor that pairs well with the honey.
Honeycomb Candy as a Homemade Gift
This honeycomb candy is a showstopper in any treat tin. Wrap it in wax paper or tuck it into a mason jar with a festive ribbon. You can even mix and match with other homemade sweets like spiced nuts or chocolate bark for a beautiful holiday assortment.
Whether you’re gifting it or sneaking a few pieces for yourself, honeycomb candy is worth every moment of patience it requires. Try this recipe, and let me know how it turns out! If you experiment with flavors (you really should), I’d love to hear what your favorite combinations are.
Enjoy the sweet crunch!